Replacing Printers

Introduction
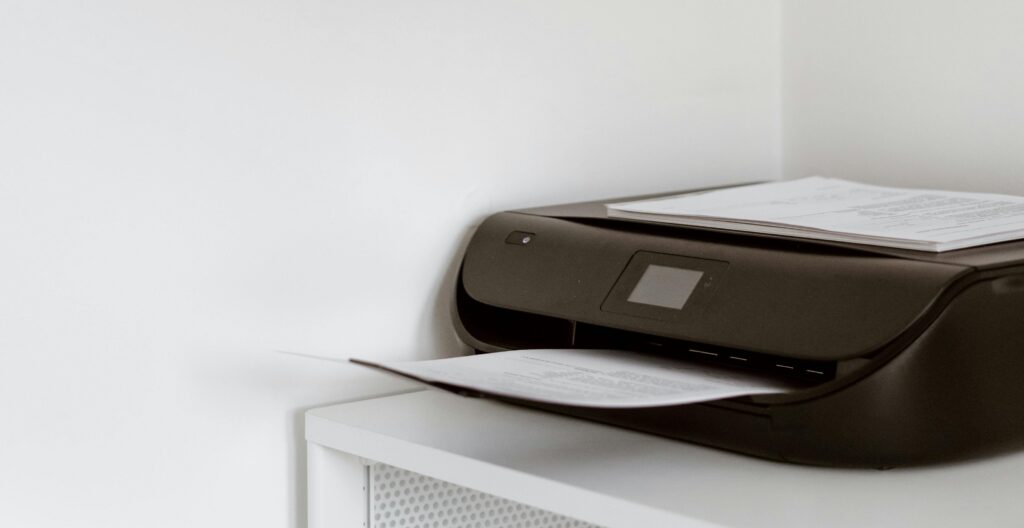
In PPBS, each printer is found by its name which is defined in Settings. Replacing printers involves the following:
- Physically remove the old printer.
- Remove the device from Settings.
- Install the new printer.
- Give the new printer the correct name.
- Test the new printer.
Remove the old printer
Turn off and disconnect the old printer.
For W10, go to Settings, then Devices > Printers and Scanners
For W11, go to Settings, then Bluetooth and Devices > Printers and Scanners
Find the printer you want to remove and click on it. Click on the Manage button, then click on the Printer properties link.
Make a note of the old Printer Name.
Click on the Sharing tab. If this is a shared printer, do the following steps in this order:
- Make a note of the old Share Name.
- Delete the Share Name.
- Finally, uncheck Share this printer.
Click Ok.
Go back to Printers and Scanners (use the “Back Arrow” at the top left of the window.
Click on the printer you want to delete again. Click on Remove Device.
Install a new USB printer
Plug the new printer into power and connect the USB cable to the computer same computer.
Note: If you’re using a different computer, call PPBS Support for help.
Note: Best practice is to plug printers into a USB port on the computer or use a powered USB Hub. Wait for the new printer to appear in the list of Printers and Scanners, go to Configure Printer.
Install a new Network printer
Click on Add a printer or scanner.
Click on the printer you want to add.
Wait for the new printer to appear in the list of Printers and Scanners, go to Configure Printer.
Configure Printer
After the new printer is installed, click on the new printer and then the Manage button.
Click on the Printer properties link.
Change the name of the printer to be the same as the old Printer Name.
If this will be a shared printer, click on the Sharing tab. Click the Share checkbox.
If the Share Name is different from the old Share Name, change it to be correct.
Test the new printer
Load the new printer with plain paper (not Loan or Buy/Sale forms).
Click on the new printer and then the Manage button.
Click on the “Print a test page” link.
On each computer, run PPBS, then at the Options Menu press 3 for Check Printers.
Every printer should say OK.
Load the new printer with correct Loan or Buy/Sale forms.
Summary
You can usually change out printers by yourself, but if you should run into trouble anywhere along the way, just call PPBS Support!

